Applying for a Cake? Click here for an application.

5 Modeling Chocolate Tips and Recipes from Expert Sugar Angels
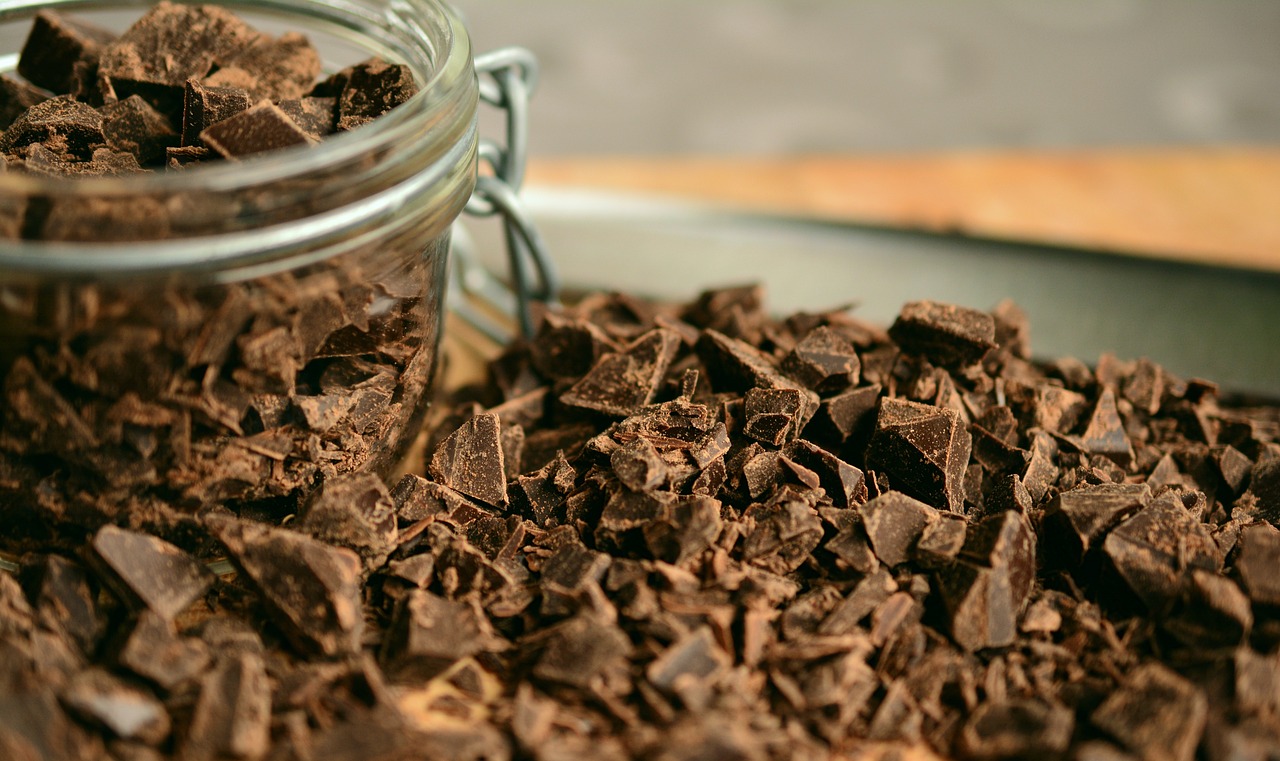
Modeling chocolate can be a joy to work with — once you become familiar with its properties. But it often presents a few challenges for beginners.
Also known as chocolate clay or candy clay, modeling chocolate is a versatile and pliable medium used in cake decorating and confectionery arts. It combines the rich flavors of chocolate with the malleability of clay, allowing you to shape it into intricate designs, figures, or cake toppers. Compared to fondant or Krispie treats, modeling chocolate offers a smoother texture and a more delicious taste.
When a Sugar Angel asked for help in finding the perfect modeling chocolate recipe and tips, the baking community rallied together with enthusiasm and expertise. Bakers shared their tried-and-true modeling chocolate recipes and tips that had been honed over countless hours of experimentation.
Let’s delve into the delightful world of modeling chocolate and discover the invaluable recipes and tips that were generously shared.
Modeling Chocolate Recipe
Many Sugar Angels turn to Sugar Geek Recipes for Elizabeth Marek’s fool-proof modeling chocolate.
Ingredients
Modeling Chocolate
6 ounces corn syrup
16 ounces chocolate (any kind)
White Modeling Chocolate
16 ounces white candy melts
4 ounces corn syrup (or glucose), warmed for a few seconds until about body temperature
Few drops gel food coloring, if you plan on coloring
Instructions
Melt candy melts in a plastic or microwave-safe bowl in the microwave or stove-top saucepan.
Warm corn syrup and add food coloring if using. Remember that your final product will be lighter than the color of your corn syrup. You can also add color later if you want.
Fold mixture together with a spatula until mixture starts to seize and resembles soft serve ice cream.
It is important to not overmix or your modeling chocolate will get oily.
Wrap in plastic and let set until chocolate is firm but still pliable. Usually a couple of hours depending on how hot it is in your room.
Unwrap chocolate and knead until smooth, smashing any hard lumps with your fingers.
Rewrap chocolate and place back in plastic wrap to set up until hard.
5 Modeling Chocolate Tips from the Bakers
1. Controlling Temperature
Your chocolate will be hard every time you go to use it. You will need to reheat it a few seconds (5-15 depending on your microwave) before each use. Do not overheat it, or it will get too soft and you’ll have to wait for it to harden up again before you can use it.
2. Dusting with Confidence
Dust your hands, work surface, and tools lightly with cornstarch or powdered sugar to prevent sticking. Start with a small amount, and add more as needed. Excess dusting can affect the taste and smoothness of the finished product.
3. Adding Colors
When coloring modeling chocolate, use gel or powdered food coloring instead of liquid ones, as liquid colors can cause the chocolate to seize. Add the coloring gradually while kneading the chocolate until the desired shade is achieved.
4. Repairing Cracks
If cracks appear while working with modeling chocolate, gently blend the edges with your fingertips or use a small amount of melted chocolate as “glue.” Applying a thin layer of shortening or corn syrup can help smooth out any imperfections.
5. Customizing Firmness
Adjust the firmness of your modeling chocolate based on your project’s requirements. For delicate flowers and intricate details, use a softer consistency by adding a bit more corn syrup to the mixture. On the other hand, if you need more structural stability for larger sculptures or cake toppers, reduce the amount of corn syrup or add some powdered sugar during kneading to achieve a firmer texture.
The generosity and passion of the baking community have once again shone brightly as bakers shared their cherished modeling chocolate recipes and invaluable tips. With these tried-and-true techniques in your baking arsenal, you can confidently embark on the journey of creating stunning and delectable masterpieces using modeling chocolate. Embrace the knowledge and let your imagination soar as you shape and mold this versatile medium into edible works of art.
Join Our Mailing List
If you want more tips, updates, and stories from Icing Smiles, sign up to receive periodic updates from the team. You can choose to receive the newsletters we send out every other month or to be notified when a new blog posts. We think you’ll enjoy reading about the smiles we help to create. These stories inspire us. They motivate us. And they are the reasons we are here.